Interior Construction


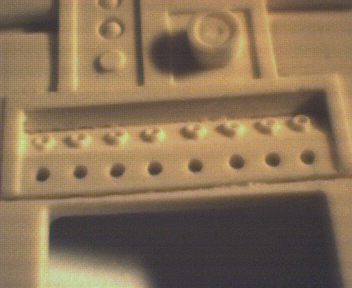
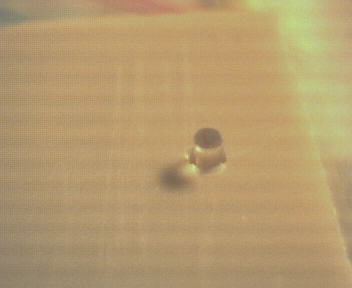
I drilled the holes for the fiber optics that will be the comm lights. The switches themselves will likely be sewing pins cut down. They'll be put in from the back so I can adjust their length to be all the same before I glue them in places. Anyway back to the lights. I did a test where I drilled a 1 mm hole in a piece of resin and then glued in a short segment of fiber optic cable (essentially plastic). I polished the cut end with sanding sticks until it was only slightly frosted and not totally clear. This sample shows the fibre sticking up just a tad to high. Also the above shows how it looks in room light with the LED running at half brightness. All 8 fibers will run off the one Green LED.
You may notice that the hole for the red light just below the comm panel is crooked. I'm still fussing with that and will have it perfect by the time the primer hits it (probably next week).


I've cut off the grips on the sides of the walls, and angled the openings by adding triangular pieces (just visible in the shots to the right). I didn't like the look of the grips so I'm building new ones from styrene rod. I've posted a shot to the left. Basically I am using a razor saw to cut (lathe style) grooves and then finishing it with a triangular file. The second example here is just my test to see what would work best. I still need to put some Mr Surfacer on this but its roughed in on both sides now.


Above you can see the black plastic backer sheet I put behind the hand grips. I've also put in the "window" for the left-hand rear wall console. That's a piece of blue masking tape on there to protect it from the primer. I bought a jar of Mr. Surfacer 1000 and I must say that the rumors I've heard about it are correct. This product is fantastic to use and fills up very fine imperfections so they are completely invisible. I need to apply a little to these walls to hide some minor bubbles and sloppy edges.


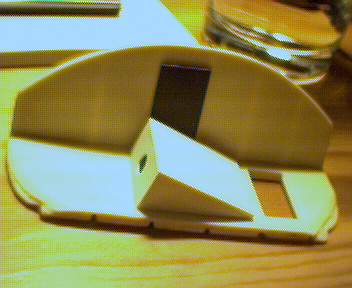
I've built a wedge-shaped box to mount the white LED and cast a decent light fall. I frosted up a water-clear LED with a sanding stick and it now looks like a lightbulb in that it casts its light in all directions and not just forward. This will give me a fairly even glow. I mounted the LED to a small sheet of styrene and this will be glued into the hole in the wedge and hold it (hopefully) in the correct position.


I've assembled the dashboard (I guess you could call it that) and I've applied silver tape to the inside to reflect the light. I'm still not sure if the light will be even enough with silver. I suspect if it doesn't work to my satisfaction I'll peal it off and spray it white. The application of the instrument panels has me wondering what adhesive would work best here. Capt. Cardboard recommended black acrylic paint (from a tube). I have some so I'll try a test but I'm not fully convinced.